老铁们,你是不是也经历过这样的纠结?
想写博客,用 Hexo 嘛,确实很香:免费、快速、Markdown 写作。但一想到要在本地电脑上装 Node.js、配置各种环境依赖,甚至还可能遇到版本冲突,就有点头大。尤其是当你换一台电脑,或者想在不同系统上部署,那种“重新配置环境”的痛苦,简直是噩梦!
“有没有一种办法,能让我享受 Hexo 的丝滑,又不用污染我的本地环境,甚至能实现博客环境的‘随身携带’?”
有!今天,我就要带你进入一个全新的境界——用 Docker 搭建你的 Hexo 博客!
这不仅仅是搭建博客,更是搭建一个 “永不崩溃、环境纯净、可随时迁移” 的博客工作站!
使用到的项目地址:https://github.com/appotry/docker-hexo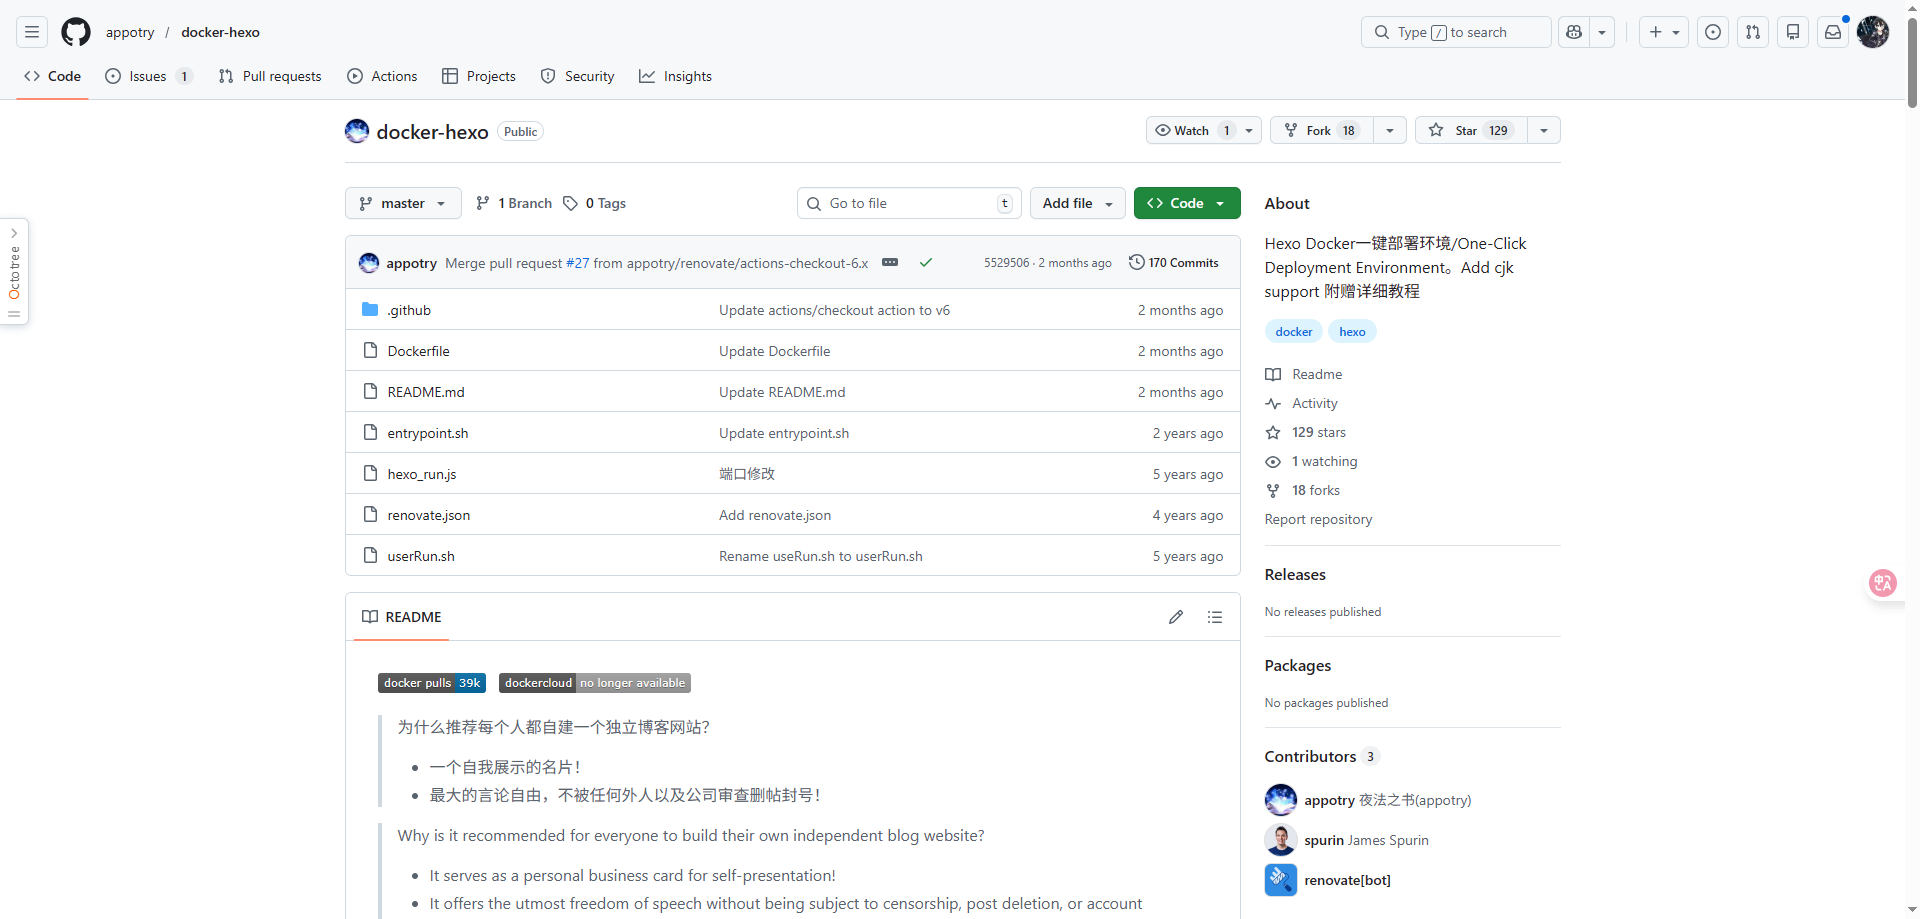
为什么用 Docker 来跑 Hexo?它到底“香”在哪里?
你可能听过 Docker,知道它是个“容器”技术,但具体怎么用在博客上,又有什么好处呢?
简单来说,用 Docker 跑 Hexo,就像是给你的 Hexo 博客量身定制了一个独立的小房间。 这个房间里,Node.js、Hexo 框架、各种依赖,所有需要的东西都打包在里面,互不干扰。
它的“香”点,简直是为我们这些懒人、爱折腾又怕麻烦的人量身打造:
- 告别“环境地狱”: 这是最大的优点!你的本地电脑不需要安装 Node.js、npm,甚至是 Hexo-cli!所有这些都运行在 Docker 容器里。从此告别版本冲突、依赖问题,你的本地开发环境保持极致纯净。
- “开箱即用”,一步到位: Docker 镜像里已经预装好了 Hexo 运行所需的一切。你只需要拉取镜像,启动容器,就能直接开始写博客、生成、部署,省去了大量的环境配置时间。
- 多电脑同步,无缝切换: 无论你在家里的台式机,还是公司的笔记本,甚至是借朋友的电脑,只要装了 Docker,把你的博客项目文件夹一挂载,就能立即进入你的博客工作状态,写作、发布一气呵成。
- 环境一致性,永不崩溃: 容器化保证了每次运行的环境都一模一样,不会因为你本地系统更新、安装了其他软件而导致 Hexo 罢工。你的博客环境,永远稳定如初。
- 方便迁移和备份: 你的博客所有内容(文章、配置、主题)都集中在一个文件夹里。用 Docker 跑,这个文件夹就是你的“宝藏”。备份这个文件夹,就备份了整个博客。迁移起来更是方便,新电脑装 Docker,把文件夹一复制,搞定!
一句话总结:Docker 让 Hexo 从“在你电脑上搭建”,变成了“把你的博客环境打包带走”!
准备工作:就一个!
你只需要在你的电脑上安装 Docker,建议使用linux服务器进行部署。安装教程这里不再赘述,看我之前的文章。
安装好 Docker,咱们就开始施展魔法了!
Docker + Hexo 搭建博客:手把手教学!
我们的核心思路是:把你的 Hexo 博客文件(文章、主题、配置等)放在本地一个文件夹里,然后把这个文件夹“映射”到 Docker 容器里,让容器内的 Hexo 访问和操作它。 Docker镜像已经内置了hexo和一下常用的插件。
第一步:部署 Hexo Docker 镜像
Docker Cli部署:
1 | docker create --name=hexo \ |
docker compose部署
推荐使用 docker compose 来管理docker
docker-compose.yml内容如下:
1 | services: |
.env 文件示例
1 | # Copy this file to .env before building the container. |
环境变量
| 环境变量 | 作用 |
|---|---|
| HEXO_SERVER_PORT | pm2 http 服务器运行端口,默认是4000 |
| GIT_USER | git 环境变量用户名 |
| GIT_EMAIL | git 环境变量邮箱 |
| 创建好博客目录,修改好配置,执行下面命令,进行部署 |
1 | docker compose up -d |
浏览器输入http://你的服务器IP:4000,就可以看到博客页面了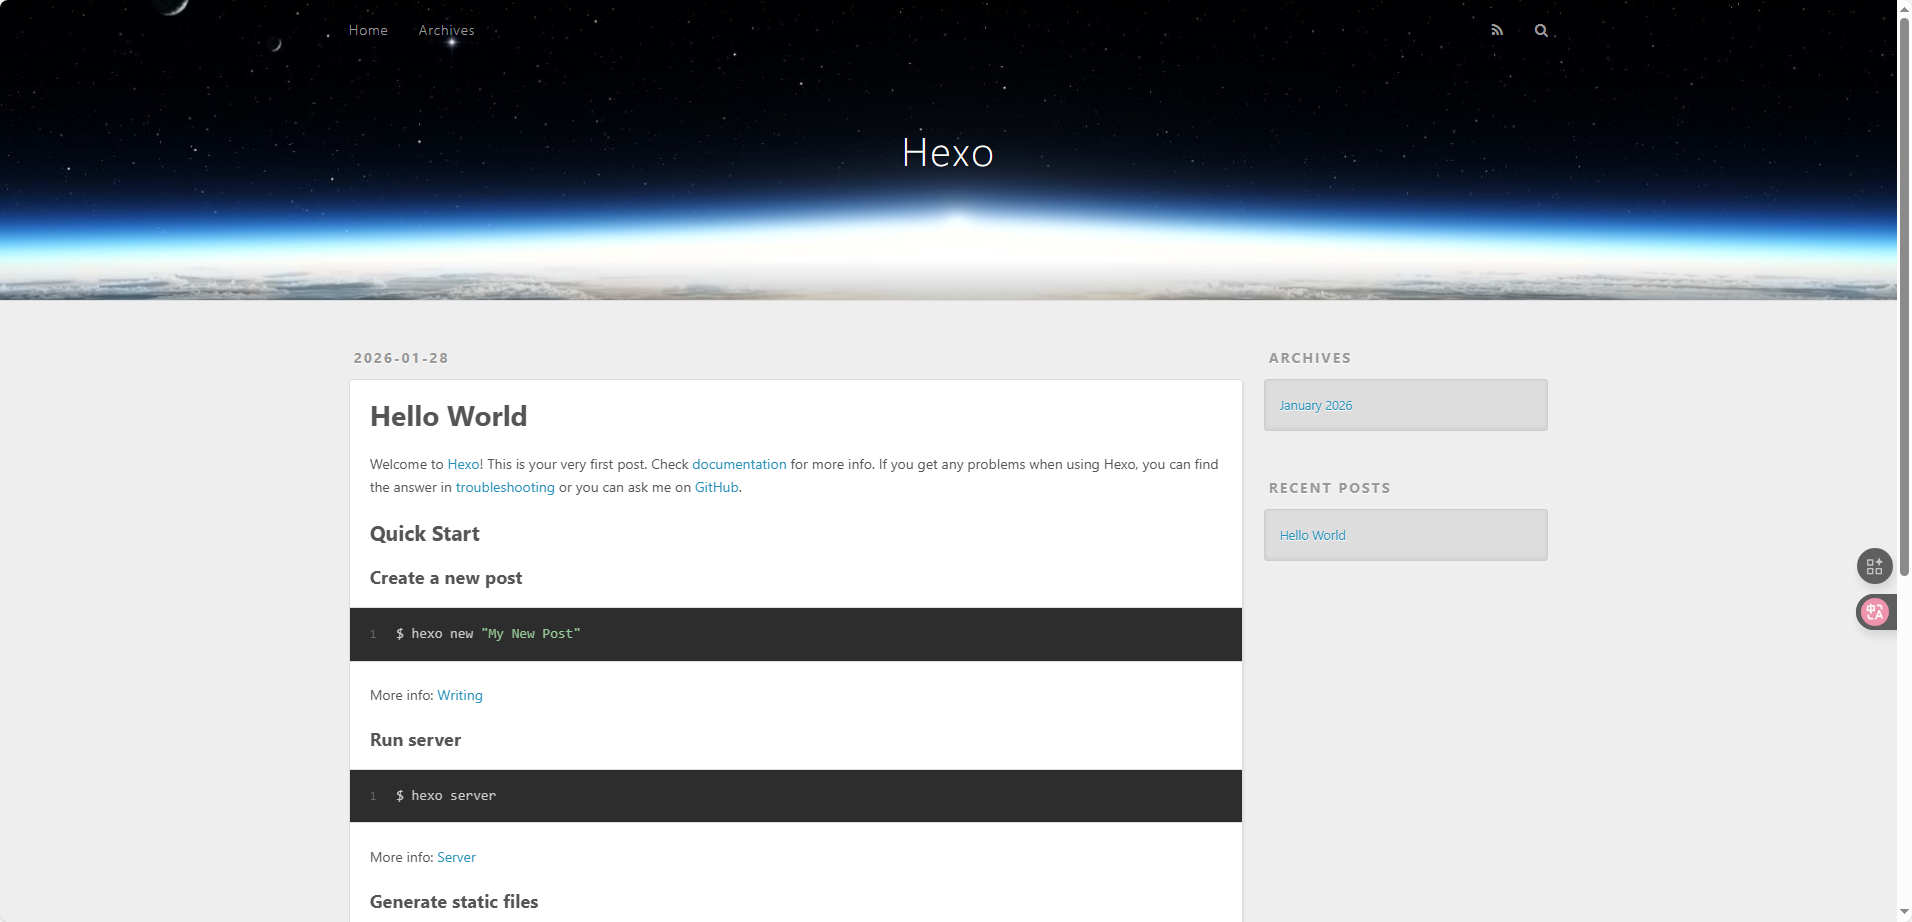
第二步: ssh key 部署
Docker会自动随机生成ssh key 在 /app/.ssh 目录下面。自动部署请把ssh key添加到github 等平台。
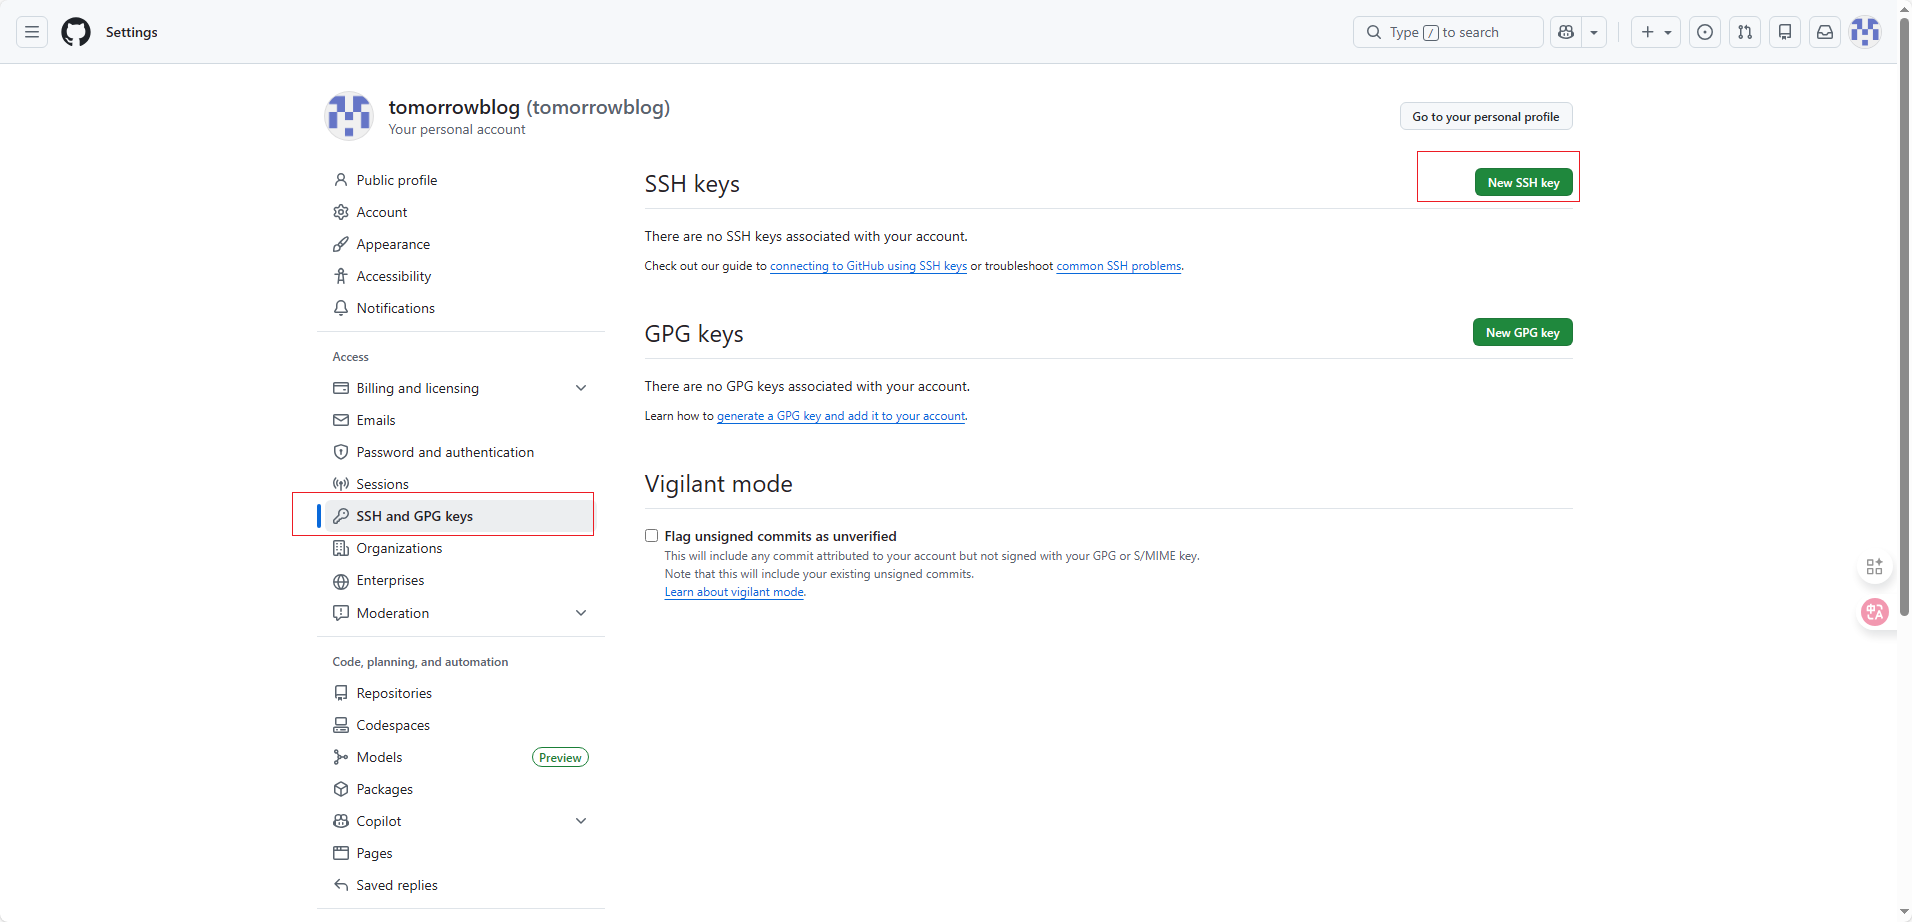
- 将SSH 公钥复制到剪贴板。
- 在任何页面的右上角,单击您的个人资料照片,然后单击Settings(设置)。
- 在用户设置侧边栏中,单击SSH and GPG keys(SSH 和GPG 密钥)。
- 单击New SSH key(新SSH 密钥)或Add SSH key(添加SSH 密钥)。

进入docker
1 | docker exec -it hexo bash |
然后就可以正常运行hexo的各种命令了,是不是非常简单? 快来试试吧。
第三步:发布到互联网(GitHub Pages / Gitee Pages)
准备工作:
1.注册 GitHub 账号: 如果你还没有,赶紧去 github.com 注册一个。
2.创建新仓库: 在 GitHub 上创建一个新的仓库 (Repository),仓库名称必须是 你的GitHub用户名.github.io (例如,如果你的用户名是 zhangsan,那么仓库名就是 zhangsan.github.io)。
部署
如果你想把博客部署到 GitHub Pages 或 Gitee Pages,你需要配置 _config.yml 文件,并安装 hexo-deployer-git 插件。
1.安装部署插件:
镜像已经内置该插件,可以不用再安装
1 | cnpm install hexo-deployer-git --save |
2.配置 _config.yml:
打开你本地博客文件夹里的 _config.yml 文件,拉到最底部,修改 deploy: 部分。例如部署到 GitHub Pages:
1 | deploy: |
保存文件。
3.生成并部署!
1 | hexo clean && hexo generate && hexo deploy |
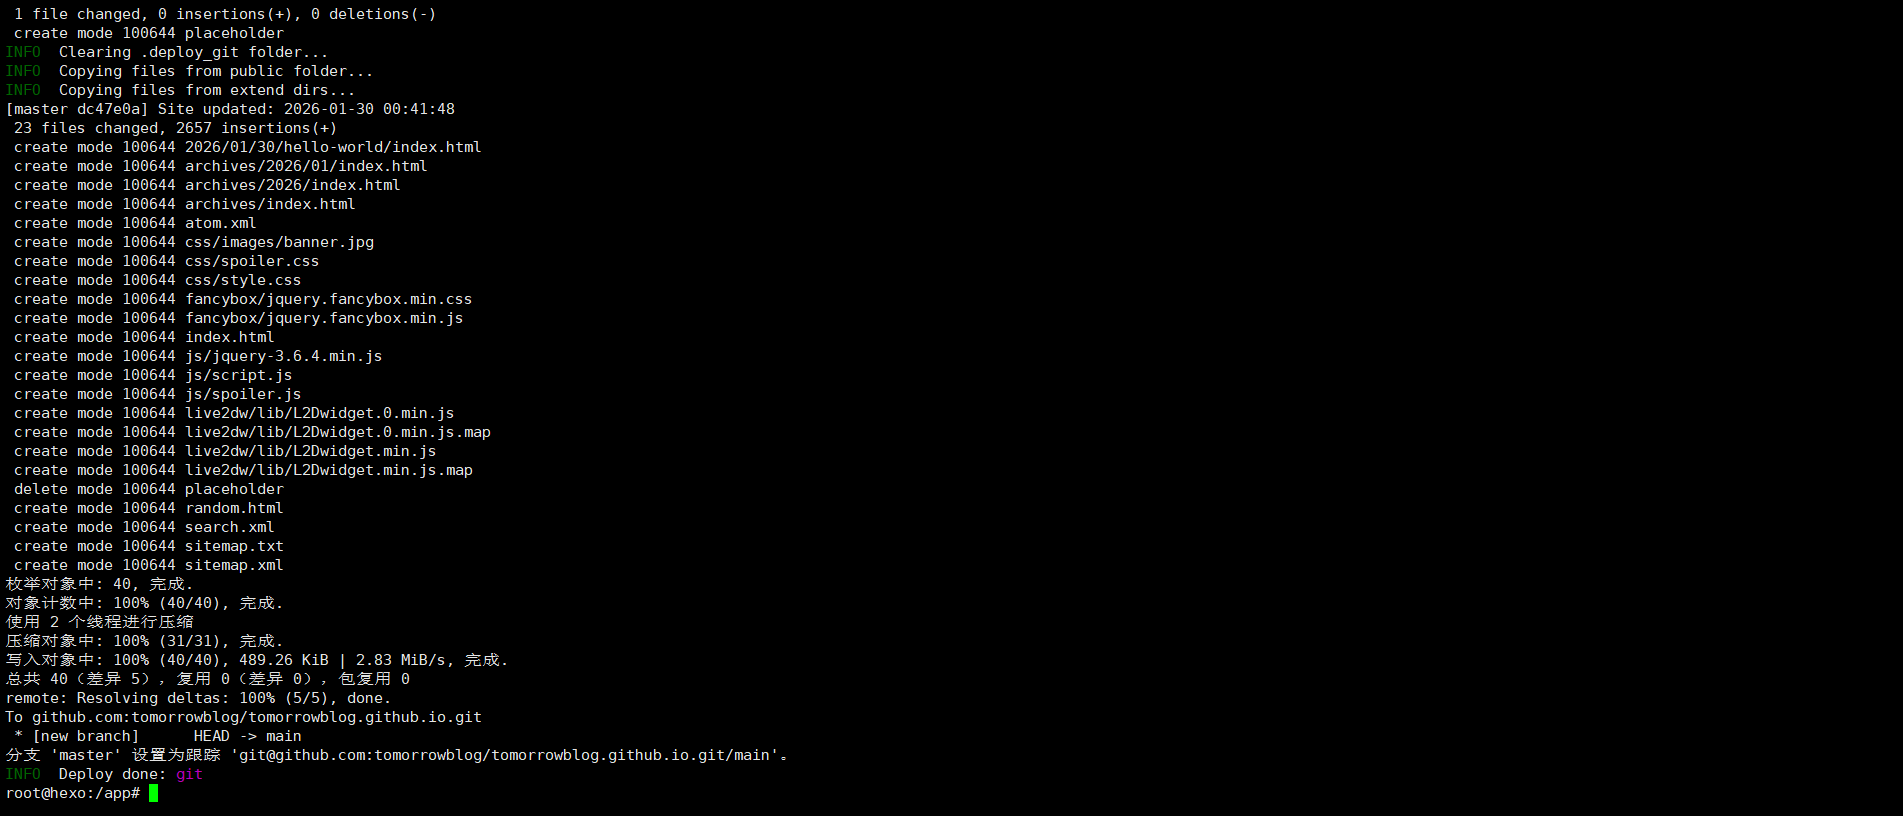
稍等片刻,你的博客就上线了!访问 https://你的GitHub用户名.github.io 就能看到。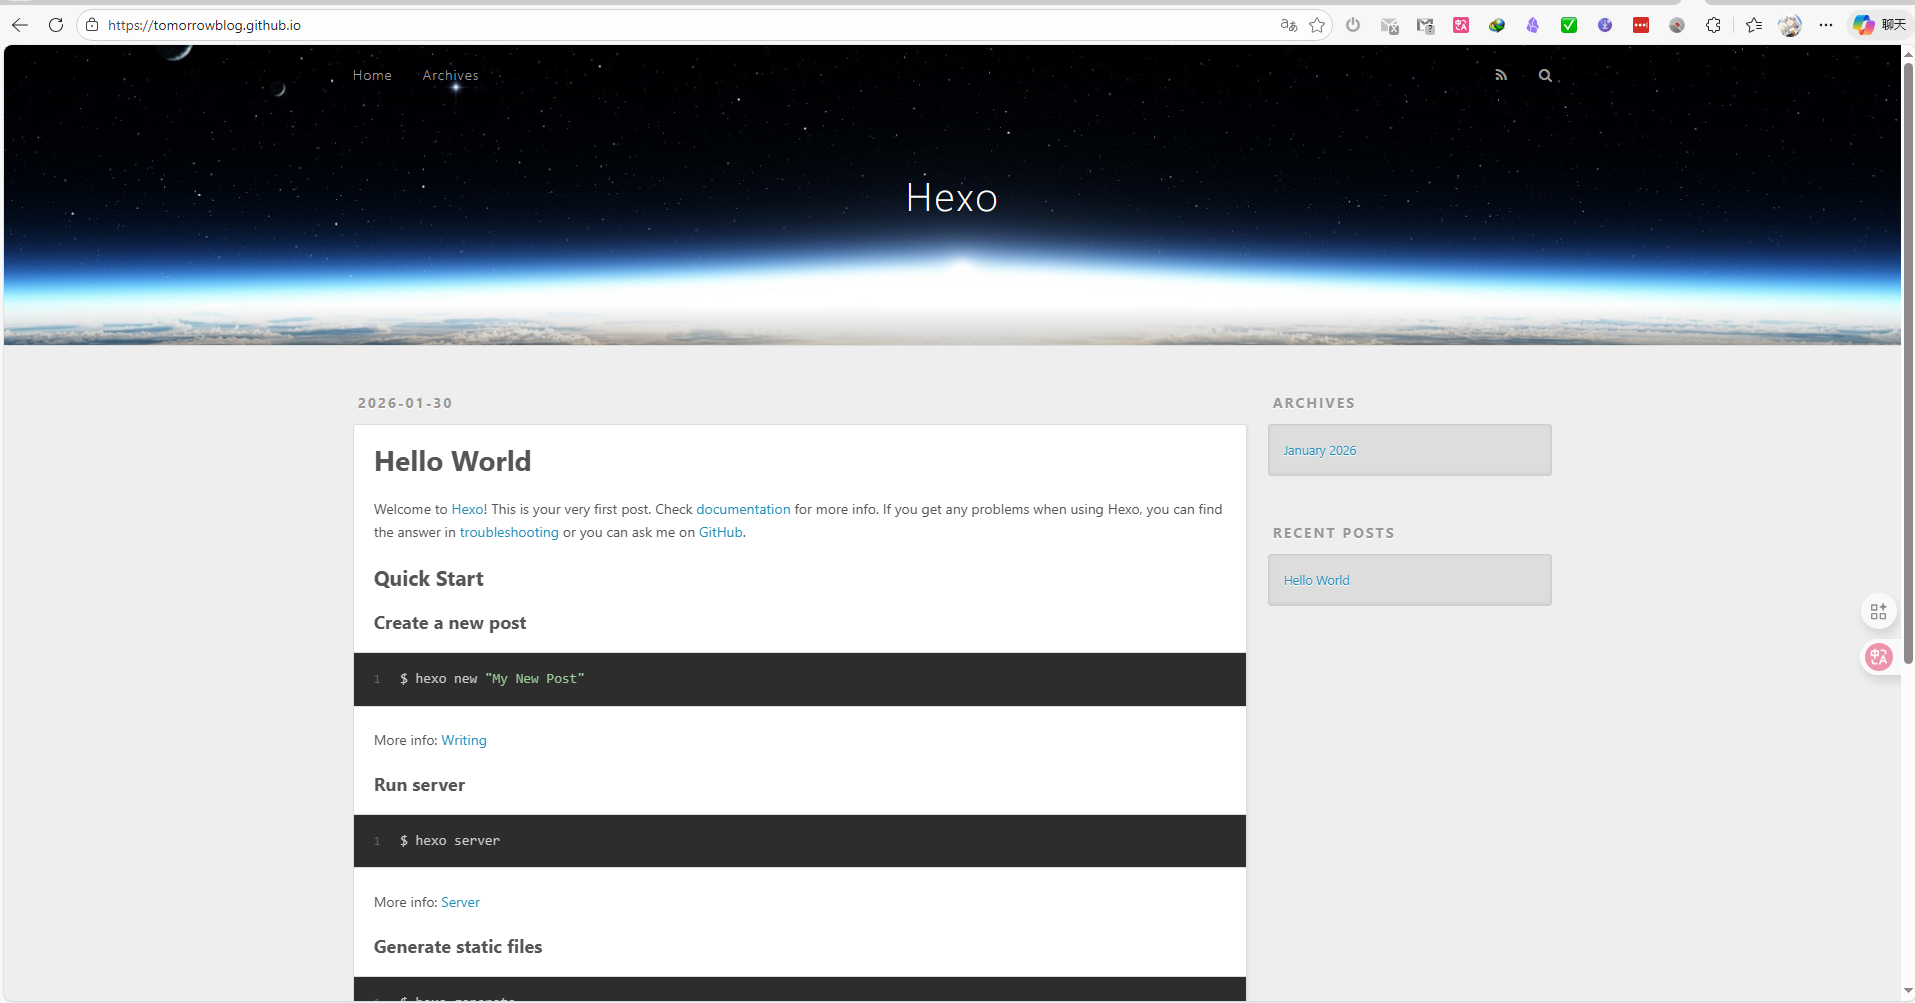
怎么写文章?
你只需要在你本地博客文件夹的 source/_posts 目录下,用 Markdown 格式创建新的 .md 文件即可。
比如,在你的本地博客文件夹里,执行:
1 | # 注意,这里我们直接在本地创建文件,因为 Hexo 的新文章命令会直接操作文件系统, |
然后用你喜欢的编辑器打开 source/_posts/我的Docker Hexo初体验.md,开始你的写作!
hexo 支持实时预览修改效果,文章主题的修改,都可以通过web服务立刻看到效果。
如果你发现了修改没有立刻生效,可能是 node 缓存还在,可以使用下面方法重启 web 服务
1 | 重启 pm2 |
写完后,确认无误后,重复第三步的部署命令即可发布。然后通过访问 https://你的GitHub用户名.github.io 就能看到最新的修改。
总结:Docker + Hexo,让你的博客之路“一劳永逸”!
用 Docker 运行 Hexo,可能初看起来比直接安装 Hexo 稍微多一步,但它带来的环境隔离、一致性、以及无与伦比的便捷性,绝对是值得的!
从此,你的博客环境不再受本地电脑的“污染”,无论你在哪里,都能随时随地、优雅地写作和发布。这不仅仅是搭建博客,更是搭建了一个高效、稳定、可移植的个人内容发布系统!
所以,别再犹豫了!赶紧动手,用 Docker 打造你的专属 Hexo 博客工作站吧!你会发现,它的“真香”程度,远超你的想象!
觉得这个教程有用?别忘了点赞、转发给身边想写博客的朋友们!咱们下期再见!👋

📚 往期推荐
- 还在傻傻手敲测试数据?这个 Python 库让你一键生成“整个世界”
- 别再本地 docker build 了!教你用 GitHub Actions 搭建全自动流水线,真香
- 别再死磕命令行了,Dockge 才是 Docker Compose 的正确打开方式
- 告别简陋!打造高颜值 NAS 导航面板:Sun-Panel 实战教程
- it-tools:程序员的瑞士军刀,你的在线工具箱!
- 连续登顶 GitHub 的信息聚合神器:Follow,让你不再错过任何重要信息!
- 每天 5 分钟,刷完互联网最硬核的技术干货,我是怎么做到的?
- 卸载掉你那堆带广告的转换器吧,有一个 VERT 就够了
- 告别前端!Gradio:Pythoner专属的机器学习模型部署神器,秒建交互式Demo!
- 在 Obsidian 中高效整合 DeepSeek 的完整指南:Smart Composer 助你笔记起飞!